Lets Make Tech

Mechanical Pencil Solder Trick

Credit to bneo99 from Instructables for this trick. 

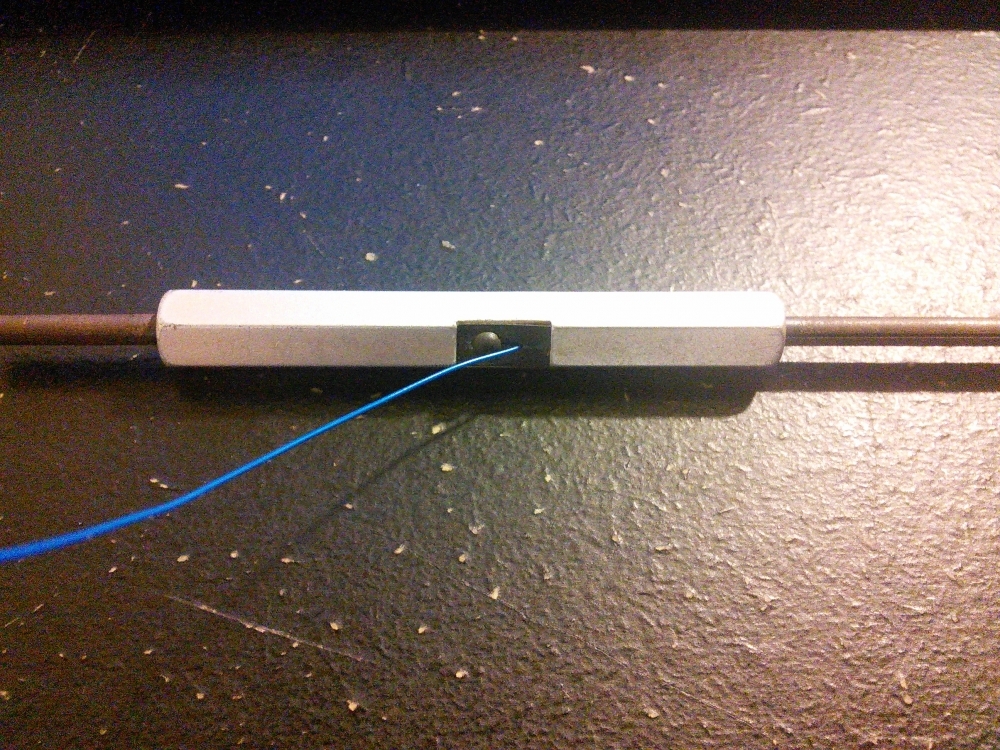
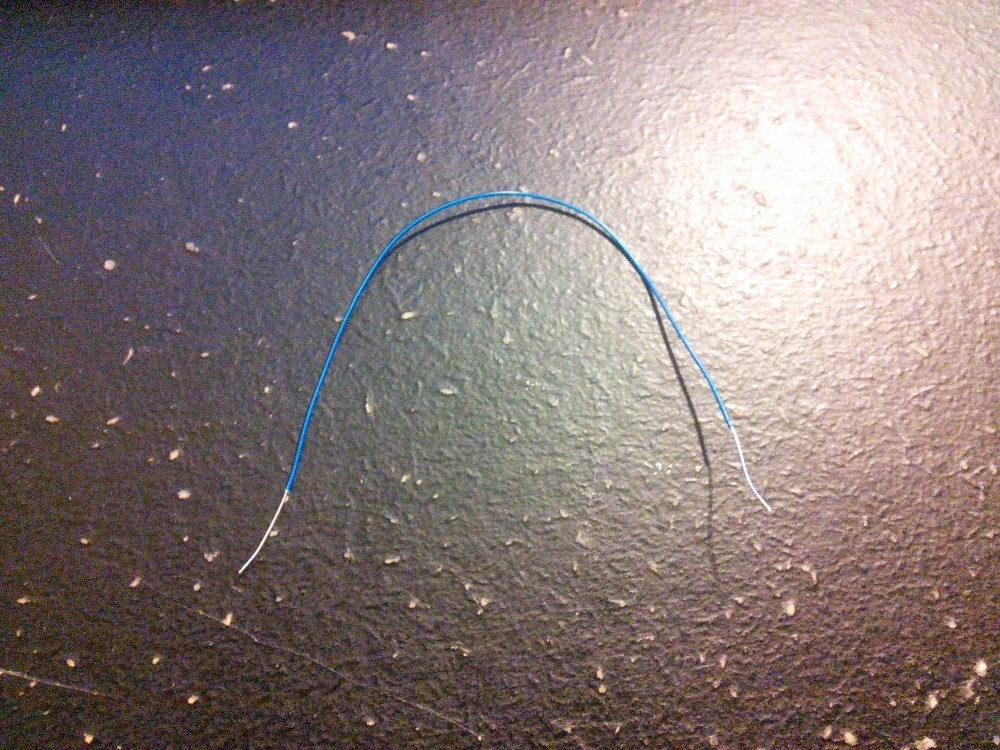
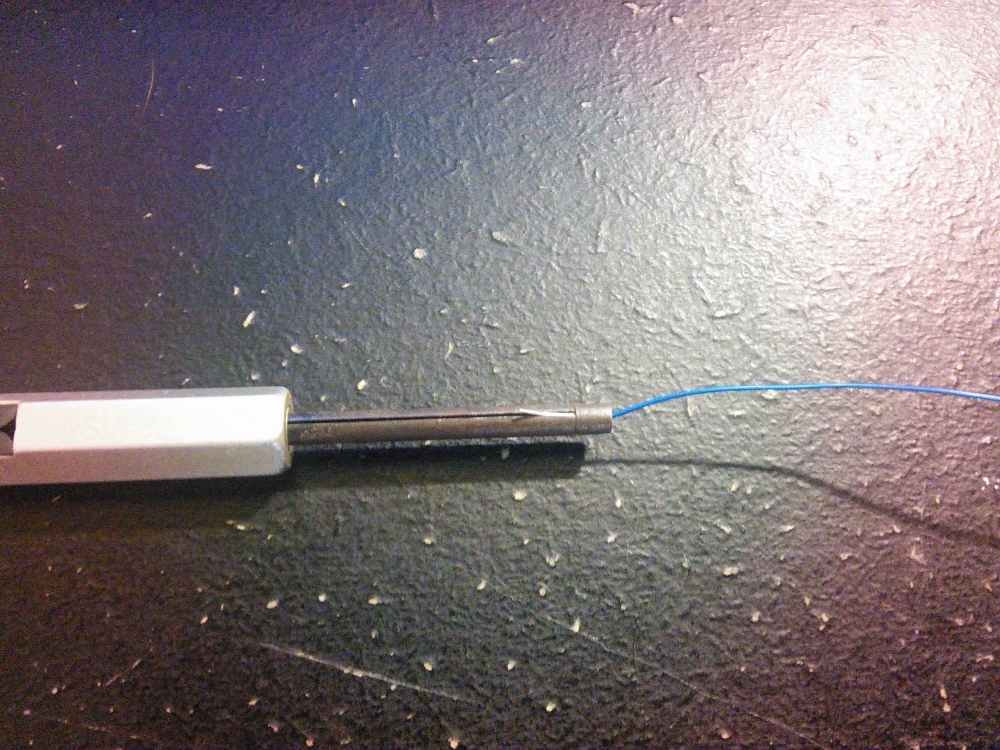
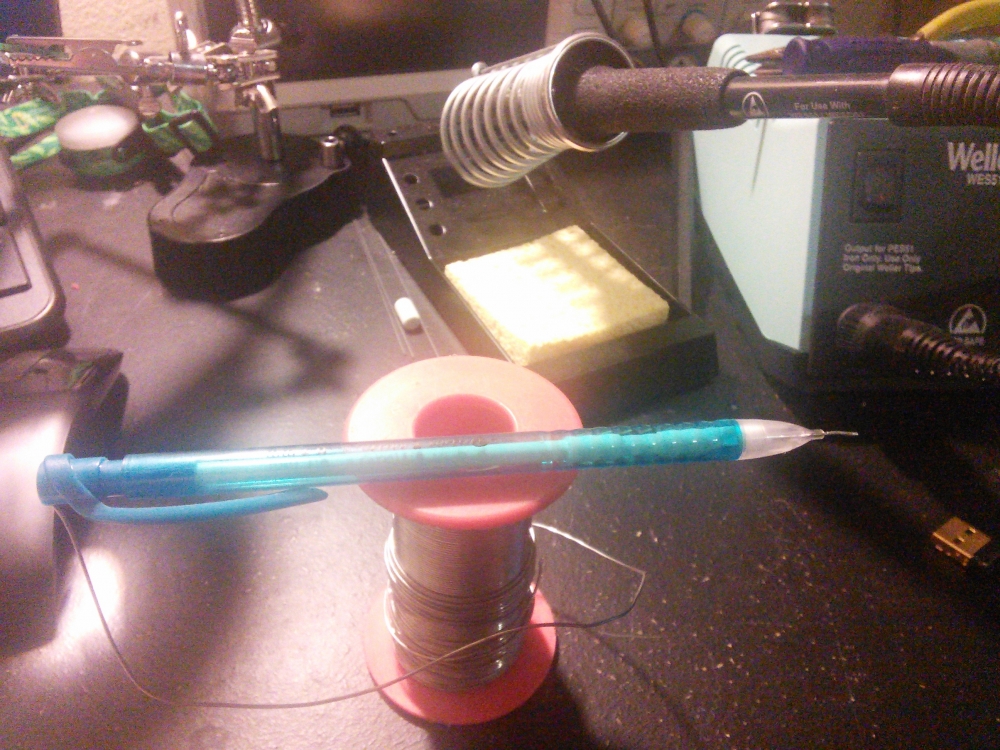
Load solder into a mechanical pencil to dispense it easily in hard to reach places. 

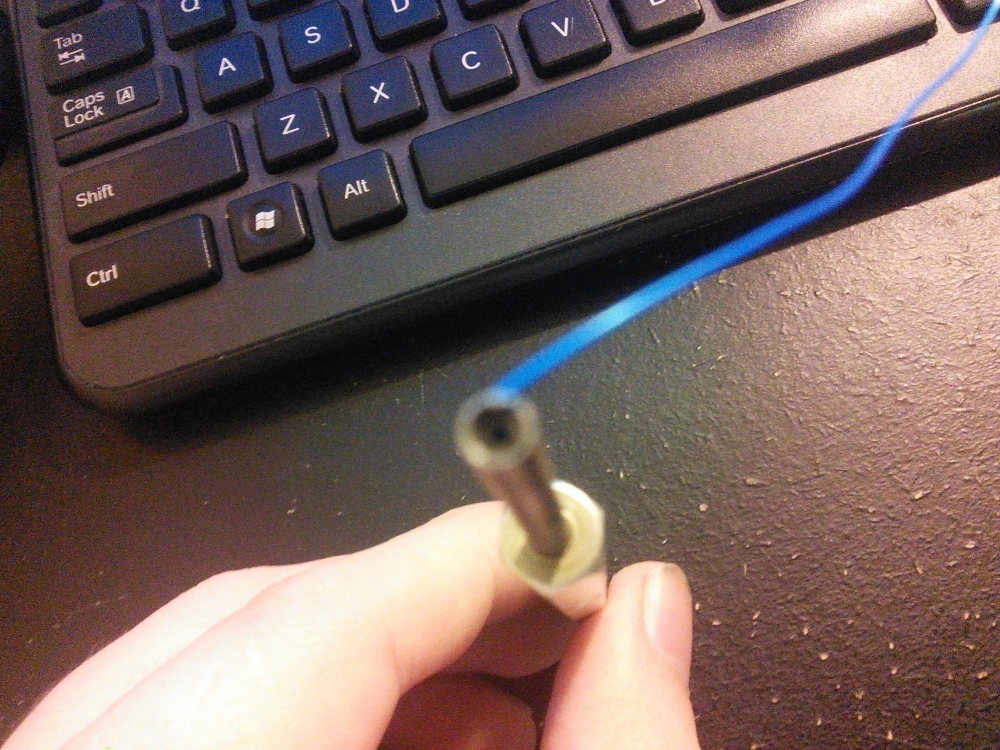
Loading the solder is fairly self explanatory, take out the eraser and put the wire in. If you struggle to get it to work make sure the gauge of the solder matches the pencil. If all else fails try another pencil or cut a length of wire off and insert it from the front of the pencil while holding down the clicking mechanism.

I struggled to get the solder to feed through my pencil, but eventually managed to get it to feed through. 

undefined

The original Instructables article states that this would be a useful way to carry solder with you.

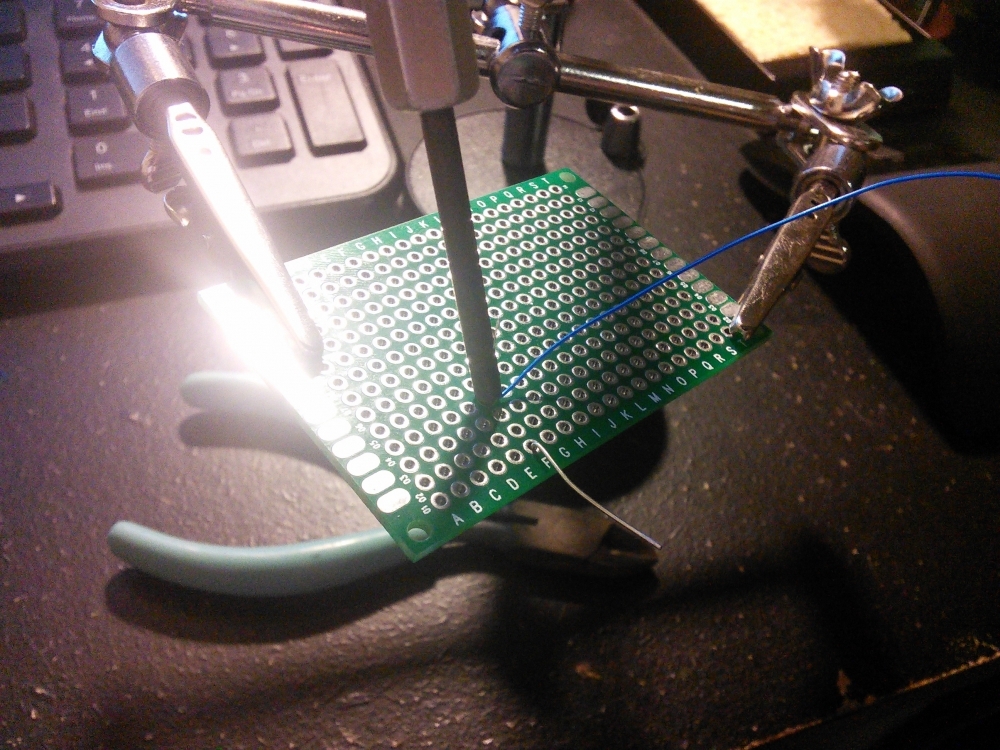
In addition to the portability aspect I think that it also may help when working in cramped places that are difficult to reach and precisely add small amounts of solder.

This may also be useful for people who have lost some feeling in their fingers and need something larger to grab onto than the solder wire itself.

undefined

  Let me know in the comments if you find any interesting uses for this method of dispensing solder. 

How to Wire Wrap

Wire wrapping is a great way to get a semi-permanent circuit built. It is quick, easy, and oddly satisfying.

For this tutorial I will not be guiding you though an entire circuit. I will be connecting one end of a resistor using wire wrapping solely to demonstrate how to wire wrap.


First lets gather up all of our supplies.

BOM

-Board to solder components on

-Solder

-Soldering Iron

-Wire cutters

-Wire wrap

-Wire wrap tool

-Whatever components your circuit calls for

Optional BOM

-Solder wick or pump (if you mess up)

-Helping Hands Magnifier


Steps

1. Place the component on the board.

undefined

2. Bending one wire to hold the component in place can be helpful.

undefined

3. Cut a short length of wire from your roll (I cut mine a little long because I plan on reusing it). Measure to make sure yours isn't too long or short for the distance between your components. If you have a multiple colors try to use color code to make it easy to keep track of your connections later.

 undefined

4. Strip the ends of the wire using the wire wrapping tool.

undefined

 undefined

5. Thread the wire into the wire wrap tool. Note that there is a large hole and a small hole, you want the small hole. If you do it correctly you will see the wire through a grove. 

undefined

undefined

6. Place a wire from the component into the larger hole.

undefined

7. Hold the wire and twist the wire wrap tool.

undefined

8. You can leave it as it is for a temporary connection or you can solder it.

9. To solder, heat the component with your solder iron (My soldering iron isn't actually on this is for demonstration only).

undefined

10. Once the component is hot touch it with some solder, this should keep the component and wire firmly on the board. 

11. Repeat with the other components.

Here is an example of what your finished product might look like. This is a circuit that I made awhile back for the PIC18F4520. I used this to connect to an EMG circuit I made awhile back and a stepper motor. Check out the tutorial and paper.

undefined


Home